Category: Javascript

  • Visualizing common React useEffect use cases

    Visualizing common React useEffect use cases

    The useEffect hook is crucial in React for handling side effects, such as data fetching, subscriptions, timers, or manually changing the DOM. This guide covers useEffect with practical examples.


    🛠️ Understanding useEffect

    The useEffect hook allows you to perform side effects in functional components. It runs after the render cycle and can be controlled using dependencies.

    Basic Syntax:

    useEffect(() => {
      // Side effect logic
      return () => {
        // Cleanup (if needed)
      };
    }, [dependencies]);
    • Runs on Mount (Empty dependency array [])
    • Runs on Update (List dependencies [state, props])
    • Runs on Unmount (Cleanup function inside return)

    Visualizing useEffect

    1️⃣ Fetching Data

    Fetching User Profile (Social Media App)

    import { useEffect, useState } from "react";
    
    function UserProfile({ userId }) {
      const [user, setUser] = useState(null);
    
      useEffect(() => {
        fetch(`https://api.example.com/users/${userId}`)
          .then((res) => res.json())
          .then((result) => setUser(result));
      }, [userId]);
    
      return user ? <h2>{user.name}</h2> : <p>Loading...</p>;
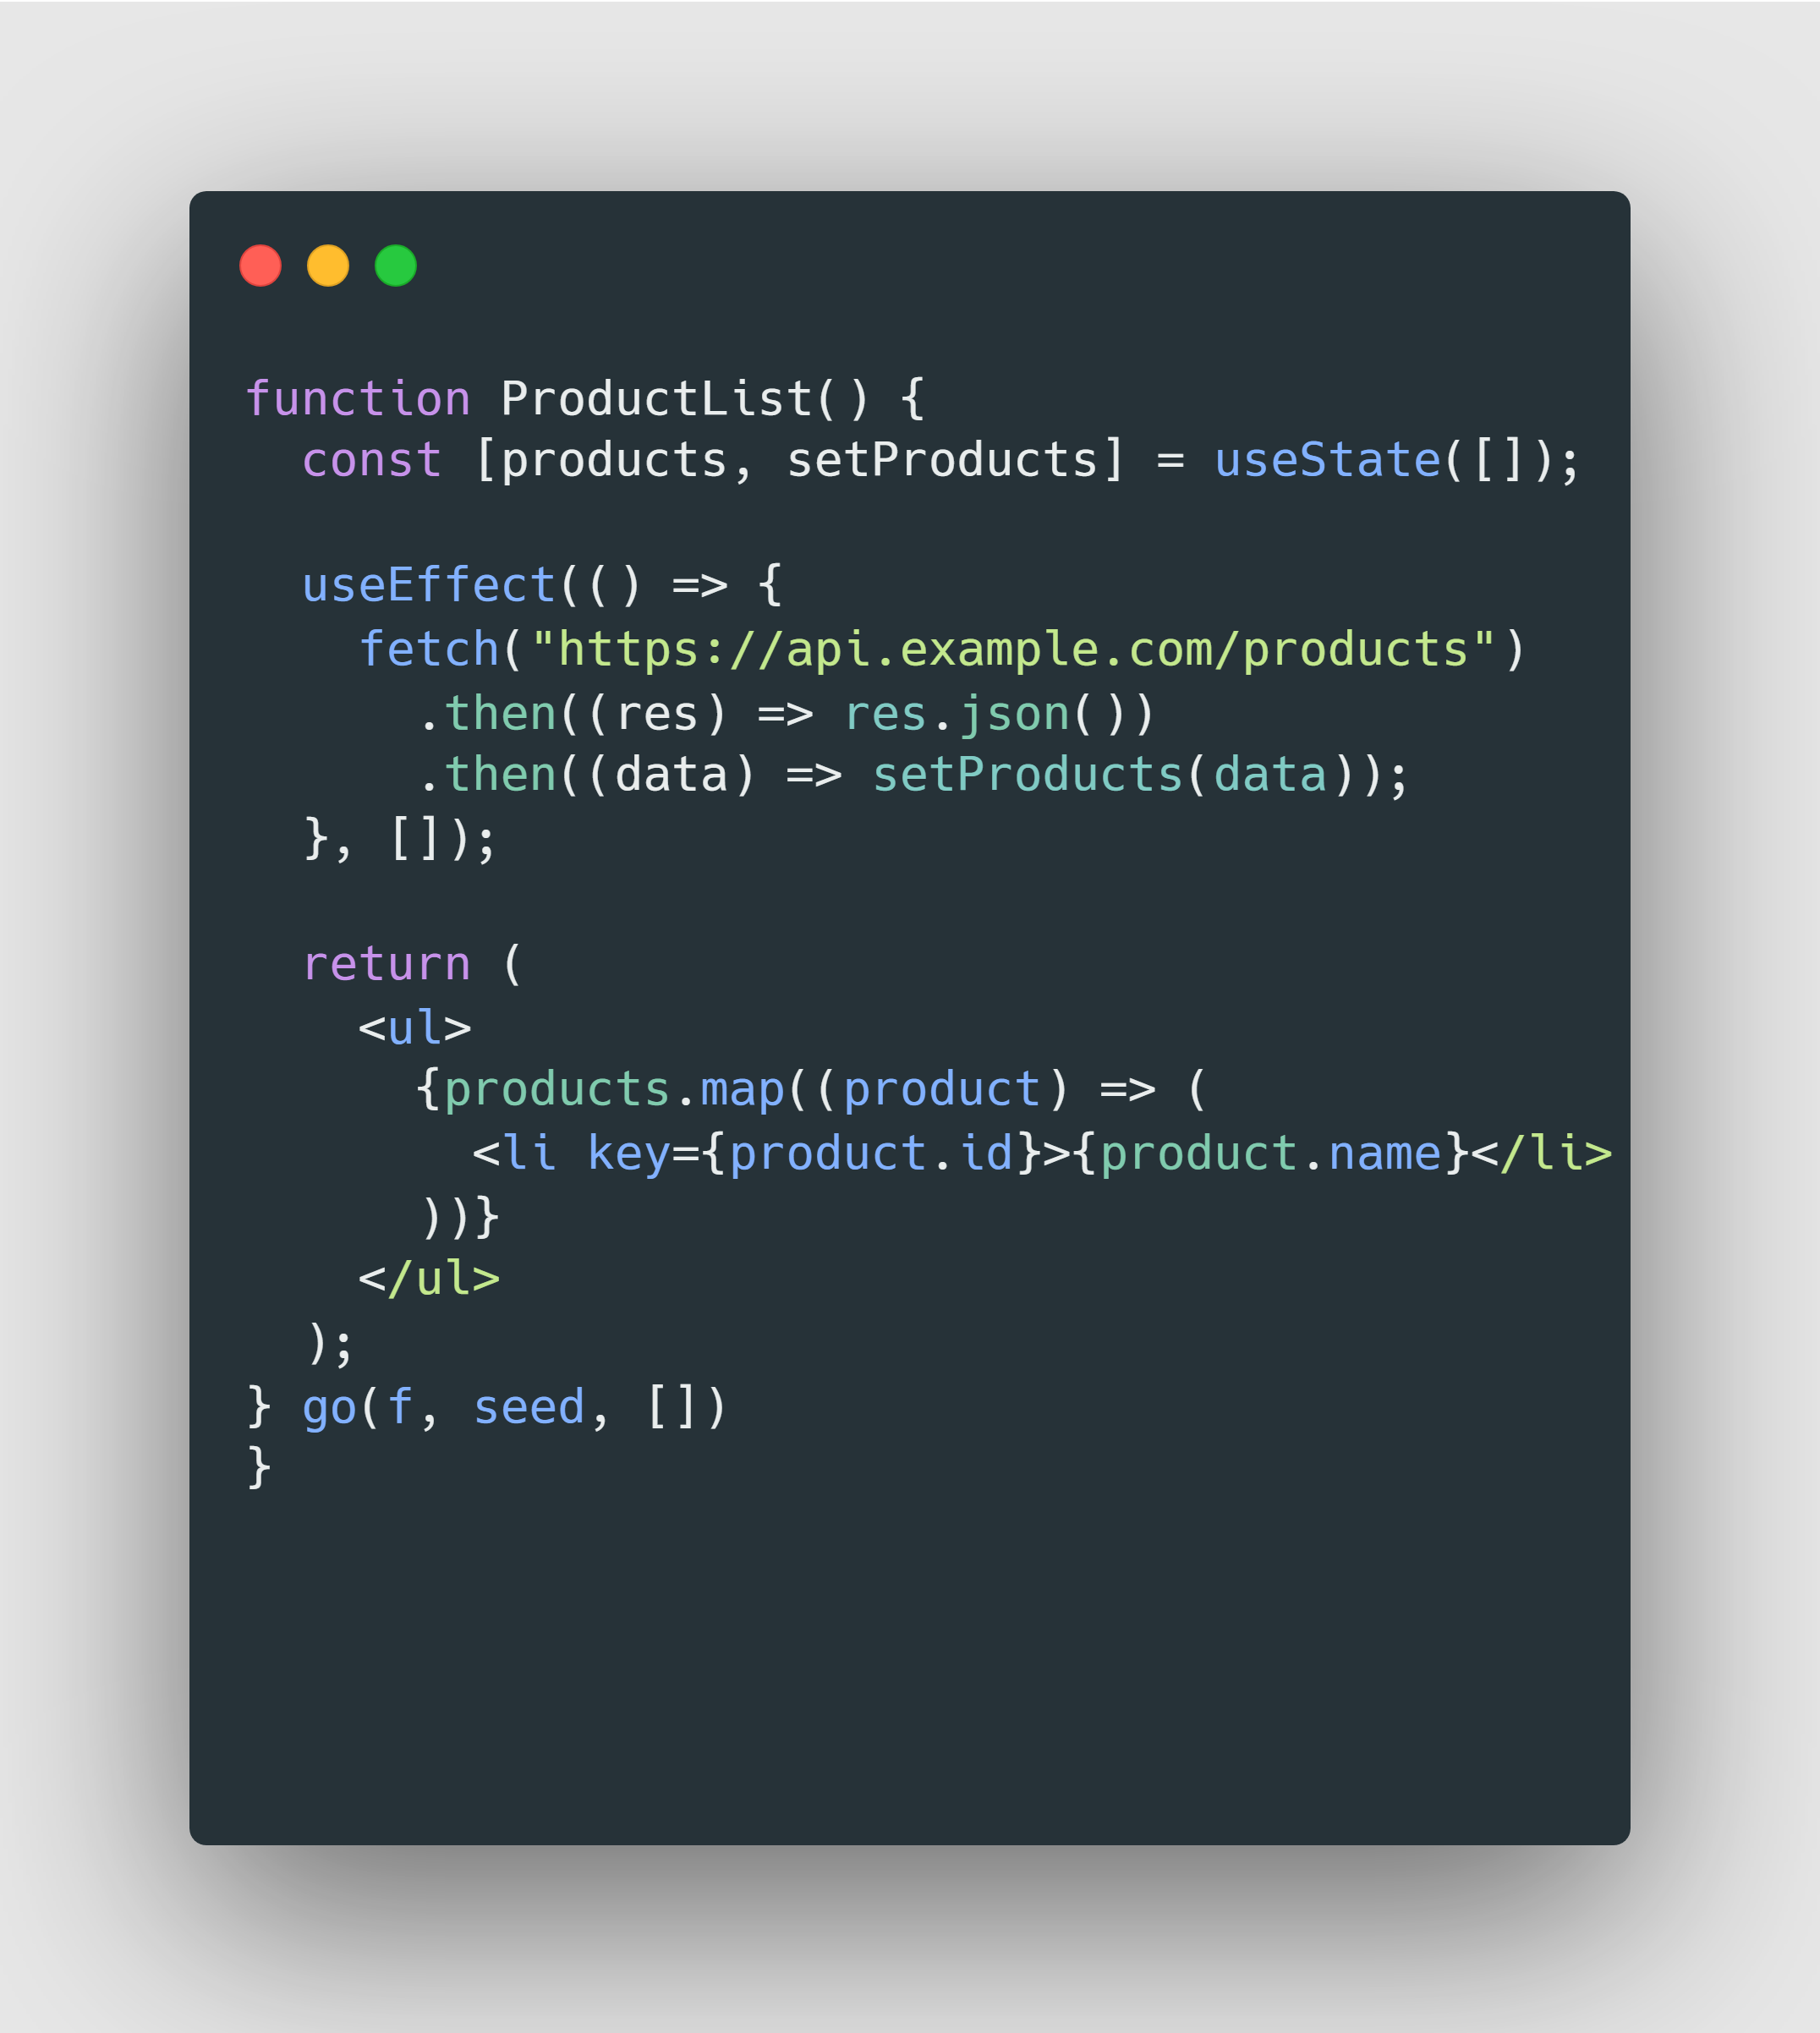
    }

    Fetching Product List (E-Commerce Site)

    function ProductList() {
      const [products, setProducts] = useState([]);
    
      useEffect(() => {
        fetch("https://api.example.com/products")
          .then((res) => res.json())
          .then((data) => setProducts(data));
      }, []);
    
      return (
        <ul>
          {products.map((product) => (
            <li key={product.id}>{product.name}</li>
          ))}
        </ul>
      );
    }

    2️⃣ Subscriptions & Event Listeners

    Live Chat Listener (Messaging App)

    function ChatComponent({ chatId }) {
      useEffect(() => {
        const socket = new WebSocket(`wss://chat.example.com/${chatId}`);
        socket.onmessage = (event) => console.log("New message: ", event.data);
    
        return () => socket.close(); // Cleanup on unmount
      }, [chatId]);
    
      return <p>Chat Active</p>;
    }

    Listening for Window Resize (Responsive UI)

    function WindowSize() {
      const [width, setWidth] = useState(window.innerWidth);
    
      useEffect(() => {
        const handleResize = () => setWidth(window.innerWidth);
        window.addEventListener("resize", handleResize);
    
        return () => window.removeEventListener("resize", handleResize);
      }, []);
    
      return <p>Window Width: {width}px</p>;
    }

    3️⃣ Managing Timers & Intervals

    Auto-Logout Timer (Banking App)

    function AutoLogout({ logout }) {
      useEffect(() => {
        const timer = setTimeout(() => {
          logout();
        }, 300000); // 5 minutes
    
        return () => clearTimeout(timer); // Cleanup on user activity
      }, []);
    
      return <p>Auto logout enabled</p>;
    }

    Countdown Timer (Auction App)

    function CountdownTimer({ initialTime }) {
      const [timeLeft, setTimeLeft] = useState(initialTime);
    
      useEffect(() => {
        if (timeLeft <= 0) return;
        const timer = setInterval(() => {
          setTimeLeft((prev) => prev - 1);
        }, 1000);
    
        return () => clearInterval(timer);
      }, [timeLeft]);
    
      return <p>Time left: {timeLeft}s</p>;
    }

    4️⃣ Synchronizing with State Changes

    Theme Toggle (E-Commerce Site)

    function ThemeToggle({ theme }) {
      useEffect(() => {
        document.body.className = theme;
      }, [theme]);
    
      return <p>Current Theme: {theme}</p>;
    }

    Syncing Cart with Local Storage (Shopping Cart App)

    function ShoppingCart({ cartItems }) {
      useEffect(() => {
        localStorage.setItem("cart", JSON.stringify(cartItems));
      }, [cartItems]);
    
      return <p>Cart Updated</p>;
    }

    5️⃣ Cleanup Effects

    Music Player (Streaming App)

    function MusicPlayer({ trackUrl }) {
      useEffect(() => {
        const audio = new Audio(trackUrl);
        audio.play();
    
        return () => {
          audio.pause();
          audio.src = "";
        };
      }, [trackUrl]);
    
      return <p>Playing music...</p>;
    }

    Removing Event Listeners (Dashboard App)

    function Dashboard() {
      useEffect(() => {
        const handleScroll = () => console.log("User is scrolling");
        window.addEventListener("scroll", handleScroll);
    
        return () => window.removeEventListener("scroll", handleScroll);
      }, []);
    
      return <p>Scroll to see effect in console</p>;
    }

    📈 Summary

    Understanding useEffect is essential for managing side effects, event listeners, API calls, and subscriptions in React. By structuring effects into data fetching, subscriptions, timers, synchronization, and cleanup, you can build real-world applications efficiently.

  • Understanding the useEffect Hook in React

    What is useEffect?

    useEffect is a React hook that lets functional components perform actions after rendering. These actions can include fetching data, updating the DOM, setting up timers, or handling events. Before hooks, class components used lifecycle methods like componentDidMount and componentWillUnmount to do this.

    With useEffect, all these behaviors can be managed inside a functional component without needing a class.


    How to use useEffect

    To use useEffect, first import it from React and then call it inside your component:

    Example: Fetching Data

    import { useEffect, useState } from "react";
    
    function FetchData() {
      const [data, setData] = useState(null);
    
      useEffect(() => {
        fetch("https://jsonplaceholder.typicode.com/posts/1")
          .then((response) => response.json())
          .then((json) => setData(json));
      }, []);
    
      return (
        <div>
          <h3>Post:</h3>
          <p>{data ? data.title : "Loading..."}</p>
        </div>
      );
    }

    What happens here?

    • useEffect runs when the component first appears on the screen.
    • The empty [] means it only runs once.
    • The effect fetches data and updates the state with setData.

    When does useEffect run?

    The second argument of useEffect is called the dependency array. It tells React when to run the effect.

    1. Updating Document Title

    import { useEffect, useState } from "react";
    
    function TitleUpdater() {
      const [title, setTitle] = useState("React App");
    
      useEffect(() => {
        document.title = title;
      }, [title]);
    
      return (
        <input 
          type="text" 
          value={title} 
          onChange={(e) => setTitle(e.target.value)} 
          placeholder="Update page title" 
        />
      );
    }
    • The document title updates every time title changes.

    2. Auto-Saving Form Input

    import { useEffect, useState } from "react";
    
    function AutoSaveForm() {
      const [input, setInput] = useState("");
    
      useEffect(() => {
        const timeout = setTimeout(() => {
          console.log("Auto-saving input:", input);
        }, 1000);
    
        return () => clearTimeout(timeout);
      }, [input]);
    
      return (
        <input 
          type="text" 
          value={input} 
          onChange={(e) => setInput(e.target.value)} 
          placeholder="Type something..." 
        />
      );
    }
    • Waits 1 second after typing to “auto-save” (simulated with console.log).

    Cleaning up Effects

    Some effects need cleanup, like event listeners and timers. We return a function inside useEffect to clean up.

    Example: Handling Window Resize

    useEffect(() => {
      const handleResize = () => {
        document.body.style.backgroundColor = window.innerWidth > 800 ? "lightblue" : "lightcoral";
      };
    
      window.addEventListener("resize", handleResize);
      handleResize();
    
      return () => {
        window.removeEventListener("resize", handleResize);
      };
    }, []);
    • Dynamically changes the background color based on window width.

    Example: Pausing Background Music

    useEffect(() => {
      const audio = new Audio("/background-music.mp3");
      audio.play();
    
      return () => {
        audio.pause();
      };
    }, []);
    • Plays background music when mounted and pauses when unmounted.

    Common Mistakes with useEffect

    1. Forgetting Dependencies

    useEffect(() => {
      fetchData();
    }, []); // fetchData is missing in dependencies!

    If fetchData depends on props or state, it should be in the dependency array.

    2. Causing an Infinite Loop

    useEffect(() => {
      setCount(count + 1); // Triggers re-render forever!
    }, [count]);

    This keeps updating count, causing an endless loop.

    3. Not Cleaning Up

    useEffect(() => {
      window.addEventListener("scroll", handleScroll);
    }, []);

    If not removed, this event listener stays in memory forever, leading to performance issues.


    useEffect vs. useLayoutEffect

    • useEffect runs after the screen updates (good for data fetching and timers).
    • useLayoutEffect runs before the screen updates (good for layout changes).

    Example:

    useLayoutEffect(() => {
      document.body.style.opacity = "1";
    });

    Most of the time, useEffect is the better choice.


    Summary

    • useEffect handles side effects in functional components.
    • Runs after every render, once on mount, or when dependencies change.
    • Cleanup prevents memory leaks and unnecessary operations.
    • Avoid missing dependencies and infinite loops.

  • Visualizing common React useState use cases

    useState is essential for managing state in React. This guide covers its use with primitives, objects, arrays, and computed values through practical examples.


    🛠️ Understanding useState

    The useState hook is a fundamental tool for managing state in React components. It allows you to store and update values, triggering re-renders when state changes. Here’s a breakdown of common use cases.

    Basic Syntax:

    const [state, setState] = useState(initialValue);
    • state: Current state value
    • setState(newValue): Function to update the state and trigger re-render
    • initialValue: Default state value

    Visualizing useEffect

    1️⃣ Primitive State (Numbers, Strings, Booleans)

    Counter (Numbers)

    import { useState } from "react";
    
    function Counter() {
      const [count, setCount] = useState(0);
    
      return (
        <div>
          <p>Count: {count}</p>
          <button onClick={() => setCount(count + 1)}>Increment</button>
        </div>
      );
    }

    Toggle Button (Boolean)

    function ThemeToggle() {
      const [isDarkMode, setIsDarkMode] = useState(false);
    
      return (
        <button onClick={() => setIsDarkMode(!isDarkMode)}>
          {isDarkMode ? "🌙 Dark Mode" : "☀️ Light Mode"}
        </button>
      );
    }

    Input Fields (Strings)

    function InputField() {
      const [username, setUsername] = useState("");
    
      return (
        <input
          type="text"
          value={username}
          onChange={(e) => setUsername(e.target.value)}
          placeholder="Enter username"
        />
      );
    }

    2️⃣ Object & Array State

    Form State (Object)

    function FormExample() {
      const [form, setForm] = useState({ name: "", email: "" });
    
      return (
        <div>
          <input
            type="text"
            value={form.name}
            onChange={(e) => setForm({ ...form, name: e.target.value })}
            placeholder="Name"
          />
          <input
            type="email"
            value={form.email}
            onChange={(e) => setForm({ ...form, email: e.target.value })}
            placeholder="Email"
          />
        </div>
      );
    }

    To-Do List (Array)

    function TodoList() {
      const [todos, setTodos] = useState([{ id: 1, text: "Learn React", completed: false }]);
    
      const addTodo = () => {
        setTodos([...todos, { id: Date.now(), text: "New Task", completed: false }]);
      };
    
      return (
        <div>
          <ul>
            {todos.map(todo => (
              <li key={todo.id}>{todo.text}</li>
            ))}
          </ul>
          <button onClick={addTodo}>Add Task</button>
        </div>
      );
    }

    3️⃣ Derived & Computed State

    Filtering & Sorting Data

    function FilterList() {
      const [query, setQuery] = useState("");
      const items = ["Apple", "Banana", "Cherry", "Date"];
    
      const filteredItems = items.filter(item => item.toLowerCase().includes(query.toLowerCase()));
    
      return (
        <div>
          <input type="text" placeholder="Search..." onChange={(e) => setQuery(e.target.value)} />
          <ul>
            {filteredItems.map(item => <li key={item}>{item}</li>)}
          </ul>
        </div>
      );
    }

    4️⃣ UI & Interaction State

    Modals & Popups

    function ModalExample() {
      const [isOpen, setIsOpen] = useState(false);
    
      return (
        <div>
          <button onClick={() => setIsOpen(true)}>Open Modal</button>
          {isOpen && (
            <div className="modal">
              <p>Modal Content</p>
              <button onClick={() => setIsOpen(false)}>Close</button>
            </div>
          )}
        </div>
      );
    }

    5️⃣ Performance & Optimization

    Debounced State

    function DebouncedSearch() {
      const [query, setQuery] = useState("");
      const [debouncedQuery, setDebouncedQuery] = useState("");
    
      useEffect(() => {
        const timeout = setTimeout(() => setDebouncedQuery(query), 500);
        return () => clearTimeout(timeout);
      }, [query]);
    
      return (
        <input type="text" onChange={(e) => setQuery(e.target.value)} placeholder="Debounced Search..." />
      );
    }

    📈 Summary

    Mastering useState is essential for building interactive React applications. By structuring state into primitives, objects, computed values, UI state, and performance optimizations, you can create efficient and scalable applications.

  • Understanding the useState Hook in React

    What is useState?

    useState is a React hook that allows functional components to manage state. Unlike class components, which use this.state and setState, functional components didn’t originally have a way to handle state until hooks were introduced in React 16.8.

    useState provides a way to declare state variables and update them while ensuring React re-renders the component when state changes.


    How to use useState

    To implement useState in a component, first import it from React and then call it inside a functional component. Here’s an example:

    import { useState } from "react";
    
    function Form() {
      const [inputValue, setInputValue] = useState("");
    
      return (
        <div>
          <input
            type="text"
            value={inputValue}
            onChange={(e) => setInputValue(e.target.value)}
          />
          <p>Entered text: {inputValue}</p>
        </div>
      );
    }

    Here:

    • inputValue is the state variable.
    • setInputValue is the function used to update inputValue.
    • useState("") initializes the state with an empty string.

    As the user types in the input field, setInputValue updates the state, causing the component to re-render with the new value.


    What useState returns

    useState returns an array with two elements:

    1. The current state value.
    2. A function to update the state.

    This is why array destructuring is used to extract these values.

    const [state, setState] = useState(initialValue);

    React ensures that when setState is called, the component re-renders with the new state value.


    Storing different types of values in useState

    useState can hold different types of values, including strings, objects, arrays, and even functions.

    Example with a boolean:

    const [isVisible, setIsVisible] = useState(false);

    Example with an object:

    const [user, setUser] = useState({ name: "Alice", age: 25 });
    
    const updateAge = () => {
      setUser(prevUser => ({ ...prevUser, age: prevUser.age + 1 }));
    };

    When updating objects, use the spread operator (...prevUser) to ensure existing properties aren’t lost.


    Does useState update state immediately?

    State updates in React are asynchronous. When setState is called, React schedules a re-render, but the state change isn’t reflected immediately in the current execution cycle.

    const [inputValue, setInputValue] = useState("");
    
    const handleChange = (e) => {
      setInputValue(e.target.value);
      console.log(inputValue); // Might still log the old value!
    };

    To ensure working with the latest state, use a function inside setState:

    setInputValue(prevValue => e.target.value);

    This ensures the latest state value is used.


    Handling multiple state updates

    React batches state updates in event handlers for performance optimization. If multiple updates happen like this:

    setInputValue("Hello");
    setInputValue("World");

    React may only apply the last one because inputValue isn’t updated immediately. To correctly apply updates, use functional updates:

    setInputValue(prevValue => prevValue + "!");

    This ensures each update works on the latest value.


    Updating state with the same value

    If setState is called with the same value as the current state, React will skip re-rendering the component.

    const [inputValue, setInputValue] = useState("");
    setInputValue("");

    React detects that the new state is the same as the previous state and does not trigger a re-render.


    Initializing state with a function

    To optimize state initialization when working with expensive calculations, pass a function to useState. This function runs only once, during the initial render.

    const [data, setData] = useState(() => {
      console.log("Expensive calculation running...");
      return computeExpensiveData();
    });

    This prevents unnecessary calculations on every re-render.


    When to use useState vs useReducer

    useState is great for managing simple state, like toggles, form inputs, or visibility toggles. However, if state logic is complex (e.g., managing multiple state transitions or dependent updates), useReducer is a better choice.

    For example, a simple form input can use useState, but a more complex state like a form reducer should use useReducer.

    const [state, dispatch] = useReducer(reducerFunction, initialState);

    In summary:

    • useState is used to manage local state in functional components.
    • It returns a state variable and an updater function.
    • Updates are asynchronous and can be batched.
    • Use functional updates when dealing with previous state values.
    • React avoids unnecessary re-renders when the new state is the same as the old state.

    Mastering useState is crucial for React development, and understanding how it behaves under different conditions will make development more efficient.

  • Functional vs. Class Components in React

    React components are the building blocks of any React application. There are two main types: Functional Components and Class Components. Understanding the differences between them is key to writing modern, efficient React applications.


    What are Functional Components?

    Functional components are JavaScript functions that return JSX. They are simpler, easier to read, and preferred in modern React development.

    ✅ Key Features:

    • Simpler syntax – Just a function returning JSX.
    • Hooks support – Can use useState, useEffect, etc.
    • Better performance – No overhead from class instantiation.

    Example of a Functional Component

    import { useState } from "react";
    
    function Counter() {
      const [count, setCount] = useState(0);
      return (
        <div>
          <p>{count}</p>
          <button onClick={() => setCount(count + 1)}>Increment</button>
        </div>
      );
    }

    What are Class Components?

    Class components are ES6 classes that extend React.Component. Before hooks were introduced, they were the primary way to manage state and lifecycle methods.

    ⚠️ Key Features:

    • Uses this.state and this.setState for state management.
    • Lifecycle methods like componentDidMount and componentDidUpdate.
    • More boilerplate compared to functional components.

    Example of a Class Component

    import React, { Component } from "react";
    
    class Counter extends Component {
      constructor(props) {
        super(props);
        this.state = { count: 0 };
      }
    
      increment = () => {
        this.setState({ count: this.state.count + 1 });
      };
    
      render() {
        return (
          <div>
            <p>{this.state.count}</p>
            <button onClick={this.increment}>Increment</button>
          </div>
        );
      }
    }

    Functional vs. Class Components: Key Differences

    FeatureFunctional ComponentsClass Components
    SyntaxSimple functionES6 class
    State ManagementuseState Hookthis.state & setState
    Lifecycle MethodsuseEffect HookcomponentDidMount, etc.
    PerformanceMore efficientSlightly slower due to class overhead
    Code ComplexityLess boilerplateMore setup required

    Why Functional Components Are Preferred

    Modern React development favors functional components because they:

    Require less code

    Improve performance

    Support hooks for better state management

    Are easier to read and test

    With the introduction of React Hooks (React 16.8), almost everything class components could do is now possible in functional components—making class components largely obsolete for new projects.


    Summary

    • Functional components are the modern, recommended way to write React components.
    • Class components were used before hooks but are now less common.
    • Hooks like useState and useEffect make functional components powerful and easy to use.

    References

    1. React Official Docs – Components
    2. Understanding React Functional Components
    3. Class Components vs. Functional Components

  • Components & State Management in React

    In React, components are the building blocks of the UI, and state management is how data is stored and updated within them. Understanding how components work and how to manage state effectively is essential for building scalable React applications.


    What Are Components?

    A component is a reusable piece of UI that can be independent or composed with other components.

    Types of Components:

    1. Functional Components (Recommended)
    2. Class Components (Legacy)

    ✅ Functional Component (Modern Approach)

    function Greeting({ name }) {
      return <h1>Hello, {name}!</h1>;
    }

    ❌ Class Component (Older Approach)

    class Greeting extends React.Component {
      render() {
        return <h1>Hello, {this.props.name}!</h1>;
      }
    }

    React now favors functional components with hooks because they are simpler and more efficient.


    State Management in React

    State is data that changes over time within a component. React re-renders the UI whenever state updates.

    Using useState Hook

    The useState hook allows functional components to store and update state.

    ✅ Example of useState

    import { useState } from "react";
    
    function Counter() {
      const [count, setCount] = useState(0);
    
      return (
        <div>
          <p>Count: {count}</p>
          <button onClick={() => setCount(count + 1)}>Increment</button>
        </div>
      );
    }

    How useState Works:

    • useState(0): Initializes state with 0.
    • setCount(count + 1): Updates state, triggering a re-render.

    Props vs. State

    FeaturePropsState
    DefinitionData passed from parent to childData managed within a component
    MutabilityRead-only (cannot be modified by child)Can be updated with setState (or useState)
    Example<Greeting name="Alice" />const [count, setCount] = useState(0);

    Lifting State Up

    When multiple components need shared state, state is lifted up to the nearest common ancestor.

    ✅ Example of Lifting State

    function ParentComponent() {
      const [value, setValue] = useState("Hello");
      return <ChildComponent value={value} setValue={setValue} />;
    }
    
    function ChildComponent({ value, setValue }) {
      return (
        <div>
          <p>{value}</p>
          <button onClick={() => setValue("Updated!")}>Update</button>
        </div>
      );
    }

    Advanced State Management

    For larger applications, React Context or state management libraries like Redux or Zustand are used.

    Using Context API (Avoid Prop Drilling)

    const ThemeContext = React.createContext("light");
    
    function App() {
      return (
        <ThemeContext.Provider value="dark">
          <ChildComponent />
        </ThemeContext.Provider>
      );
    }
    
    function ChildComponent() {
      const theme = React.useContext(ThemeContext);
      return <p>Current theme: {theme}</p>;
    }

    Summary

    • Components are the fundamental building blocks of React.
    • State is mutable data that causes re-renders when updated.
    • Props pass data between components, but cannot be modified.
    • Lifting state up allows shared state between components.
    • Context API helps manage global state without prop drilling.

    References

    1. React Docs – Components
    2. React Docs – State and Lifecycle
    3. React Docs – Context

  • JSX: JavaScript XML in React

    JSX (JavaScript XML) is a syntax extension for JavaScript used in React. It allows developers to write UI components in a syntax similar to HTML, making code more readable and maintainable. JSX is not required in React, but it’s widely used because it simplifies UI development.


    What is JSX?

    JSX lets you write HTML-like code inside JavaScript. Under the hood, it gets compiled into standard JavaScript function calls.

    Example: JSX vs. JavaScript

    ✅ JSX (Common in React)

    const element = <h1>Hello, world!</h1>;

    ❌ Without JSX (Using React.createElement)

    const element = React.createElement('h1', null, 'Hello, world!');

    JSX makes it easier to structure UI components visually, instead of writing raw JavaScript functions.


    How JSX Works

    JSX is not valid JavaScript—it must be compiled by a tool like Babel before the browser can understand it. Babel transforms JSX into React.createElement() calls.

    For example, this JSX:

    const element = <h1>Hello, world!</h1>;

    Compiles to:

    const element = React.createElement('h1', null, 'Hello, world!');

    This creates a JavaScript object representing the DOM structure, which React uses for efficient updates.


    JSX Rules & Best Practices

    1️⃣ JSX Must Return a Single Parent Element

    return (
      <div>
        <h1>Title</h1>
        <p>Some text</p>
      </div>
    );

    If multiple elements are needed, wrap them inside a <div> or use fragments (<>...</>):

    return (
      <>
        <h1>Title</h1>
        <p>Some text</p>
      </>
    );

    2️⃣ Embedding JavaScript Expressions in JSX

    Use curly braces {} to insert JavaScript inside JSX:

    const name = "Alice";
    const element = <h1>Hello, {name}!</h1>;

    3️⃣ Adding Attributes in JSX

    JSX uses camelCase for attributes instead of HTML-style attributes.

    <img src="image.png" alt="Description" />

    4️⃣ Conditional Rendering in JSX

    Using ternary operators:

    const isLoggedIn = true;
    const message = <h1>{isLoggedIn ? "Welcome back!" : "Please log in"}</h1>;

    Using && (short-circuit evaluation):

    {isLoggedIn && <p>You have new messages</p>}

    JSX vs. HTML: Key Differences


    Summary

    • JSX lets you write UI code in a familiar, HTML-like syntax within JavaScript.
    • It compiles to React.createElement() calls for React to process efficiently.
    • JSX requires a single parent element and follows JavaScript syntax rules.
    • You can embed JavaScript expressions and conditionally render elements using JSX.

    References

    1. React Docs – JSX
    2. Understanding JSX in React
    3. Babel JSX Compiler
  • What is React?

    React is a JavaScript library for building user interfaces, developed by Facebook (now Meta) and open-sourced in 2013. It has since become one of the most popular front-end libraries due to its component-based architecture, performance optimizations, and developer-friendly ecosystem.

    In this post, we’ll break down what React is, how it works under the hood, and why it’s so powerful for building modern web applications.

    What is React?

    At its core, React is a component-based UI library that allows developers to create declarative and reusable UI elements. Unlike traditional JavaScript-based approaches that manipulate the DOM directly, React introduces an abstraction layer known as the Virtual DOM, which optimizes updates and re-renders efficiently.

    Key Features of React:

    1. Declarative Syntax – Define how the UI should look for each state, and React handles the updates.
    2. Component-Based Architecture – Build encapsulated components that manage their own state and logic.
    3. Virtual DOM – Efficiently updates only the parts of the UI that change, improving performance.
    4. One-Way Data Flow – Props flow from parent to child components, making state management predictable.
    5. Hooks API – Functional components can now manage state and side effects without class components.
    6. Rich Ecosystem – Strong community support, extensive libraries, and seamless integration with tools like Redux, Next.js, and TypeScript.

    How does React work?

    1. Virtual DOM & Reconciliation

    One of the key optimizations in React is the Virtual DOM, a lightweight copy of the real DOM. Instead of updating the DOM directly (which can be slow), React first updates the Virtual DOM, calculates the differences (diffing algorithm), and efficiently updates only the necessary parts of the real DOM (reconciliation process).

    2. JSX: JavaScript XML

    React uses JSX (a syntax extension for JavaScript) to define UI components in a way that looks similar to HTML:

    function App() {
      return <h1>Hello, world!</h1>;
    }

    JSX gets transpiled by Babel into standard JavaScript calls (e.g., React.createElement) before being executed in the browser.

    3. Components & State Management

    React applications are composed of components, which can be functional or class-based:

    Functional Component Example

    function Greeting(props) {
      return <h1>Hello, {props.name}!</h1>;
    }

    Stateful Component Example (using useState Hook)

    import { useState } from "react";
    
    function Counter() {
      const [count, setCount] = useState(0);
      return (
        <div>
          <p>Count: {count}</p>
          <button onClick={() => setCount(count + 1)}>Increment</button>
        </div>
      );
    }

    4. React’s One-Way Data Flow

    • Props: Data flows from parent to child components.
    • State: Components manage their own state locally.
    • Context API & Redux: Global state management solutions to avoid prop-drilling.

    5. React Rendering & Performance Optimization

    React optimizes rendering with:

    • React.memo – Prevents unnecessary re-renders of components.
    • useMemo & useCallback – Optimizes expensive calculations and function references.
    • Lazy Loading (React.lazy & Suspense) – Loads components only when needed.

    Why Use React?

    • Performance: The Virtual DOM and reconciliation process optimize UI updates.
    • Scalability: Component-based architecture promotes modular, maintainable code.
    • Developer Experience: Strong community, tooling (React DevTools, TypeScript, etc.), and ecosystem.
    • Flexibility: Can be used for single-page applications (SPAs), server-side rendering (SSR) with Next.js, or even mobile apps (React Native).

    References

    1. Official React Documentation: https://react.dev/
    2. React Virtual DOM Explained: https://reactjs.org/docs/reconciliation.html
    3. JSX and Babel Overview: https://babeljs.io/docs/en/babel-plugin-transform-react-jsx
    4. React Hooks Guide: https://react.dev/reference/react

    Conclusion

    React revolutionized front-end development by introducing a declarative, component-based approach to building UI. Understanding its Virtual DOM, state management, and component architecture is crucial for mastering React and optimizing performance.

    Next, we’ll dive into React Components and State Management, exploring the different types of components and how they function. Stay tuned!